
You’ve found your dream home in a vibrant Northwest DC neighborhood, you’re settling into a new row house in Capitol Hill, or you’re running a business out of a garden-level office in Dupont Circle. Life is busy, and the last thing on your mind is an invisible, odorless gas seeping up from the ground beneath you. But in Washington DC and the surrounding areas, this unseen threat—radon gas—is a common and serious concern for homeowners and property managers alike. The thought that your basement, family room, or even your bedroom on the first floor could harbor a radioactive gas known to be the second leading cause of lung cancer is unsettling. It can make you feel powerless in your own home.
The good news is that this problem is both detectable and solvable. You are not powerless. The first step is knowledge, and the second is action. By understanding the process of professional Radon Mitigation Washington DC specialists, you can transform a health risk into a managed, minor aspect of home maintenance, ensuring the air you breathe indoors is as clean and safe as possible.
Understanding the Radon Problem in the DC Area
Radon is a naturally occurring radioactive gas that results from the breakdown of uranium in soil and rock. It’s a problem everywhere, but certain geological factors make the Washington DC area particularly susceptible.
Why is Radon a Concern Here?
Our region’s foundation is a key factor. The bedrock underlying much of DC and its suburbs contains granite and other rock types with higher levels of uranium. As uranium decays, radon gas is released. This gas then moves up through the soil and, following the path of least resistance, can easily enter your home through:
- Cracks in concrete floors and walls
- Gaps in floorboards
- Construction joints
- Gaps around service pipes and utility lines
- Sump pumps or crawl spaces
DC’s signature row houses and older homes, with their sometimes porous foundations, are not immune. Even new, tightly-built homes are at risk because they can trap radon gas inside, allowing it to accumulate to dangerous levels. The Environmental Protection Agency (EPA) has classified every single ward and county in the DC metro area as a high-risk “Zone 1” for radon, meaning homes here have a predicted average indoor radon level higher than the national action level.
The Silent Health Risk You Can’t Ignore
When you breathe in radon gas, it decays in your lungs, releasing bursts of energy that can damage lung tissue and lead to cancer over time. The risk is particularly heightened because this damage happens gradually and silently.
- Second Leading Cause: Radon is the second leading cause of lung cancer in the United States, right behind smoking.
- Synergistic Effect: For smokers, the risk is significantly multiplied. The combination of smoking and radon exposure creates a much greater health hazard than either alone.
- Long-Term Exposure: It’s not a one-time exposure that causes concern, but prolonged exposure to elevated levels over years. This makes your home, where you and your family spend the most time, the most critical place to address.
The Solution: A Professional, Multi-Step Process
Tackling radon effectively is not a DIY project. It requires specific knowledge, specialized equipment, and certified expertise to ensure the system is both effective and safe for your home’s structure.
Step One: Accurate Radon Testing Washington DC
You cannot mitigate what you have not measured. The absolute first step is professional-grade testing. While short-term DIY charcoal canisters are available, they can be influenced by weather, house conditions, and placement. A certified professional will conduct a test that provides an accurate picture of your home’s radon levels.
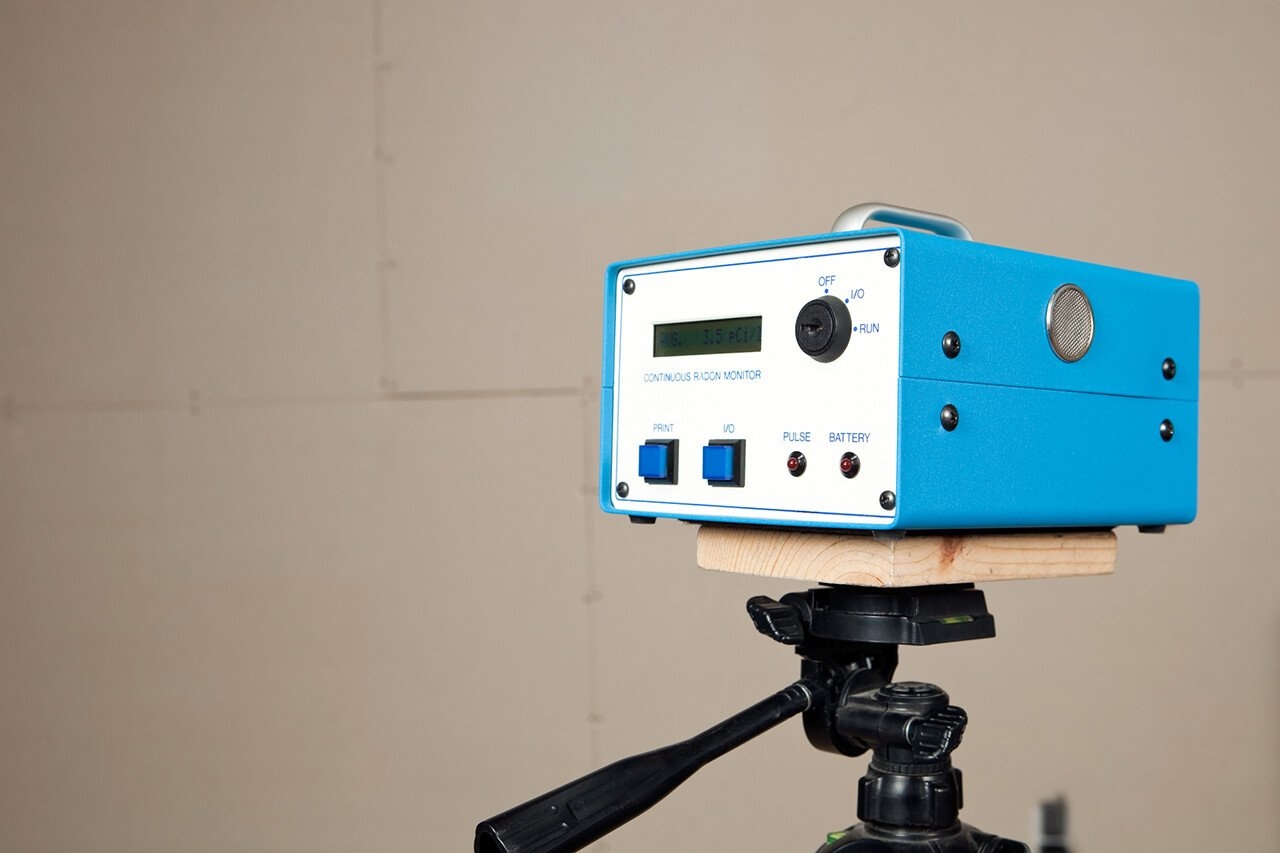
They know the optimal placement for the test device—away from drafts, high humidity, and exterior walls—to avoid skewed results. This initial Radon Testing Washington DC service gives you a definitive number, measured in picocuries per liter (pCi/L). If the result is at or above the EPA’s action level of 4.0 pCi/L, it’s time to move to mitigation.
Step Two: Diagnosis and Custom System Design
A one-size-fits-all approach does not work for radon mitigation. A certified mitigator will perform a detailed assessment of your home to diagnose the specific entry points and pressure dynamics.
They will examine your foundation type (slab, crawl space, or basement), identify the most effective location for system installation, and design a solution tailored to your property’s unique structure. This customized plan is what ensures maximum efficiency and effectiveness.
Step Three: The Core of Mitigation – Active Soil Depressurization
The gold standard for radon reduction is a technology called Active Soil Depressurization (ASD). In simple terms, it works by reversing the pressure difference between your home and the soil, actively pulling the radon gas from beneath the foundation and venting it safely outside before it can enter.
Here’s how a professional installs a typical ASD system:
- Drilling a Foundation Hole: A small, precision hole (typically 3-4 inches in diameter) is drilled through the concrete floor slab into the crushed rock or soil underneath.
- Installing the Vent Pipe: A durable, schedule 40 PVC pipe is inserted through this hole. This pipe will serve as the pathway for the radon gas.
- Routing the Pipe: The pipe is routed vertically, usually up through the interior of the house in a closet or utility chase, and then through the roof. In some cases, an exterior route may be used.
- Sealing the System: The hole in the foundation is meticulously sealed to make the system airtight. All other major cracks and openings in the foundation are also sealed to reduce radon entry and improve the system’s efficiency.
- Installing the In-Line Fan: A special, continuously operating radon mitigation fan is installed in the vent pipe, typically in the attic or outside the living space. This fan is the “active” part of the system, creating a constant vacuum under the slab to draw the radon gas out.
- Venting Above the Roofline: The radon gas is safely discharged above the roofline, where it quickly dilutes to harmless concentrations in the outdoor air.
For homes with crawl spaces, a professional may use a slightly different technique, such as installing a high-density plastic barrier over the soil and using the fan to draw radon from under this barrier.
The Tangible Benefits of a Professional Mitigation System
Investing in a professionally installed radon mitigation system delivers immediate and long-lasting rewards that go far beyond just a number on a test.
Dramatically Improved Health and Safety
This is the most important benefit. A properly functioning system can reduce radon levels in your home by up to 99%. This single action significantly lowers the long-term lung cancer risk for you and your family. It’s a proactive measure for your health, similar to installing a water filter or smoke detectors. The peace of mind that comes from knowing your indoor air is safe is invaluable.
Protection of Your Property Investment
Your home is likely your largest financial asset. Addressing a radon issue protects its value and marketability.
- Real Estate Transactions: A known, unmitigated radon problem can be a major red flag for potential buyers, often derailing a sale or forcing a price reduction. Having an active, effective mitigation system already in place is a strong selling point.
- System Longevity: A system installed by a certified professional using high-quality materials is built to last for decades with minimal maintenance, providing continuous protection for as long as you own the home.
Simple Maintenance and Verification
Once installed, a radon mitigation system is remarkably low-maintenance. The professional will perform a post-installation test to verify the system is working correctly and has brought radon levels down to a safe point (well below 4.0 pCi/L, and often to 2.0 pCi/L or lower). Homeowners should simply periodically check that the fan is running (a U-tube manometer gauge is installed to show this) and ensure the exterior vent pipe is clear of debris like leaves or snow.
Don’t let an invisible threat compromise the safety of your home. The process is straightforward, proven, and delivers a lifetime of benefits. By starting with professional Radon Testing Washington DC and following through with expert Radon Mitigation Washington DC, you are making a smart, responsible decision for your health and your investment. Take control of your indoor air quality today.