
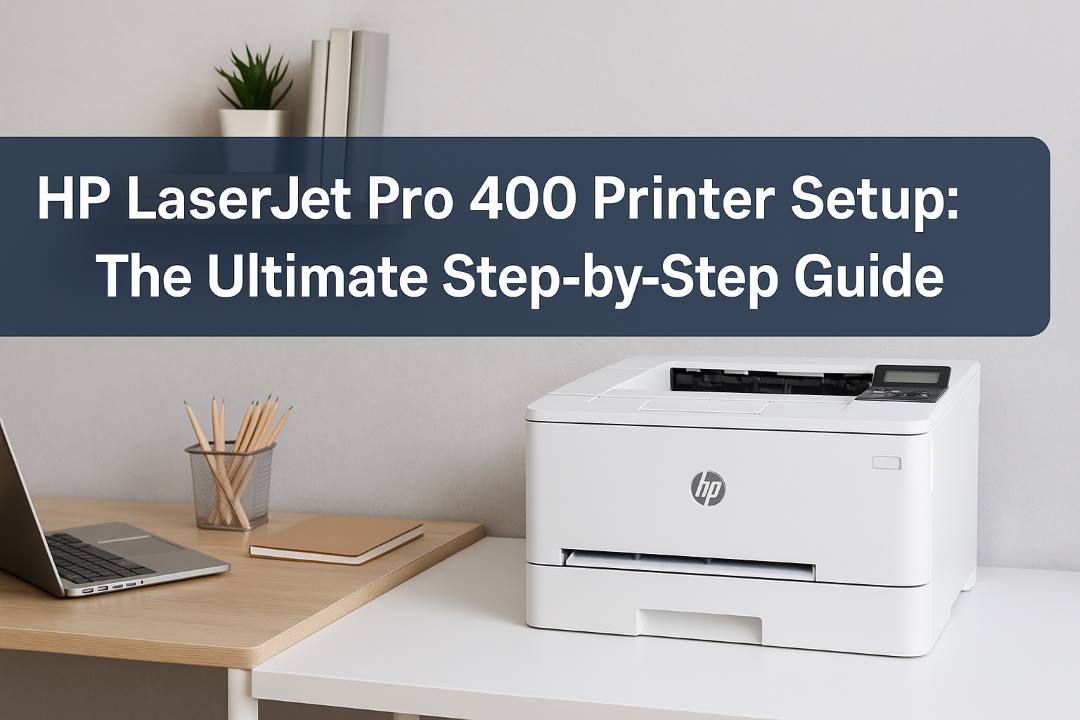
Setting up a printer shouldn’t feel like decoding an ancient manuscript—but let’s be honest, sometimes it does. The HP LaserJet Pro 400 is one of those printers built to make your life easier, but the first-time setup can still look intimidating if you’re new to it. Whether you’re setting it up at home or in a small business workspace, this detailed guide will walk you through every single step of the HP LaserJet Pro 400 Printer Setup, making sure your device runs smoothly and prints flawlessly.
Introduction to the HP LaserJet Pro 400 Printer
The HP LaserJet Pro 400 series has earned its reputation for being one of HP’s most durable, efficient, and office-friendly printers. Known for high-speed printing, crisp black text output, and energy efficiency, it’s a favorite among professionals and small business owners alike.
This printer combines power and simplicity, supporting USB, Ethernet, and Wi-Fi connectivity options. That means no matter what your environment looks like—wired or wireless—this machine can fit right in.
If you’re new to the HP LaserJet Pro 400, here’s what you’ll love:
- Fast print speeds up to 35 pages per minute
- Sharp 1200 x 1200 dpi resolution for text clarity
- Auto duplex printing to save paper
- Energy-efficient performance that keeps electricity bills in check
- Compact design that fits neatly on a desk or shelf
But to enjoy all that power, you first need to go through the setup correctly—and that’s what this guide is here for.
Preparing for the Setup
Before you begin, take a few minutes to gather the essentials. You’ll need:
- Your HP LaserJet Pro 400 printer
- The power cable
- A USB cable (if you plan a wired setup)
- A Wi-Fi connection (for wireless setup)
- A computer or laptop with internet access
- HP Smart App or HP Easy Start software
Why preparation matters
Having everything ready saves time and prevents unnecessary errors mid-setup. It also ensures your printer connects properly the first time—no need to restart the whole process.
Unboxing and Physical Installation
Let’s get your printer out of the box and ready for action.
Step 1: Unbox Carefully
- Open the box from the top and remove all protective packaging.
- Take the printer out, preferably with both hands (it’s heavier than it looks).
- Remove all orange tapes, plastic wraps, and protective foam.
- Make sure nothing’s blocking the cartridge or paper tray compartments.
Step 2: Load Paper
- Pull out the input tray from the front of the printer.
- Adjust the paper guides to match your paper size.
- Load plain white A4 or letter paper neatly.
- Slide the tray back in until it clicks.
Step 3: Install the Toner Cartridge
- Open the front access door.
- Unwrap the toner cartridge from its package.
- Gently rock it side to side to distribute the toner evenly.
- Remove the orange seal.
- Insert the cartridge into its slot until you hear a soft click.
- Close the door securely.
Step 4: Power On the Printer
- Plug in the power cord to the back of the printer.
- Connect it to a wall outlet.
- Press the power button.
- Wait for the printer to initialize—you’ll hear the motor run briefly.
Once the screen or LED panel lights up, you’re ready for the software setup.
Software and Driver Installation
This is the brain of the operation. Without the right driver, your computer won’t communicate properly with the printer.
Option 1: Using the HP Smart App (Recommended)
The HP Smart app is the easiest way to set up and manage your HP LaserJet Pro 400.
Steps:
- Download HP Smart App from:
- HP’s official website
- Microsoft Store (Windows)
- Mac App Store (macOS)
- Google Play Store (Android)
- Apple App Store (iOS)
- Open the app and sign in or create a new HP account.
- Click on “Add Printer.”
- Select your HP LaserJet Pro 400 model.
- Choose a wireless, USB, or Ethernet connection.
- Follow the app’s step-by-step instructions to complete setup.
The HP Smart app automatically installs the latest drivers and helps you connect to your Wi-Fi or computer.
Option 2: Manual Setup with HP Easy Start
If you prefer traditional installation:
- Visit 123.hp.com.
- Enter “HP LaserJet Pro 400” and click Search.
- Download the HP Easy Start installer.
- Run it and follow the prompts on your screen.
- Select Connection Type (USB/Wi-Fi/Ethernet).
- Finish installation and print a test page to confirm success.
Connecting the Printer
The HP LaserJet Pro 400 offers three connection options. Here’s how to set up each.
A. Wireless (Wi-Fi) Setup
- On the printer’s control panel, navigate to Network Setup > Wireless Setup Wizard.
- Choose your Wi-Fi network from the list.
- Enter your Wi-Fi password using the keypad.
- Wait until the confirmation message shows “Connected.”
- On your PC, open the HP Smart app and add the printer.
This method is perfect if you want wireless printing from multiple devices.
B. USB Connection
- Connect the USB cable between your printer and computer.
- Windows or macOS will detect it automatically.
- If not, install the driver using HP Smart or Easy Start.
This is ideal for single-user setups or where Wi-Fi isn’t available.
C. Ethernet Connection
- Connect one end of an Ethernet cable to the printer and the other to your router.
- Once connected, the printer will auto-detect the network.
- On your PC, open HP Smart and click “Add Printer.”
- Select your printer from the available devices.
This is best for office environments with multiple users needing access to one printer.
Configuring Additional Functions (MFP Models)
If you’ve got the HP LaserJet Pro 400 MFP (Multifunction Printer), you can also scan, copy, and fax.
Scanning:
- Open the HP Smart app.
- Place the document face-down on the scanner glass.
- Choose Scan Document and adjust settings (color, resolution, and format).
- Click Scan.
- Save or email the scanned file.
Copying:
- Place your document on the scanner glass.
- From the printer panel, select Copy.
- Adjust copy settings like number of copies and darkness.
- Press Start to begin.
Printing a Test Page
To confirm setup:
- On Windows: Go to Control Panel > Devices and Printers > Printer Properties > Print Test Page.
- On macOS: Go to System Preferences > Printers & Scanners > Open Print Queue > Printer > Print Test Page.
If the page prints successfully—congrats, your HP LaserJet Pro 400 is officially ready.
Troubleshooting Common Setup Issues
1. Printer Not Connecting to Wi-Fi
- Recheck your password.
- Move the printer closer to the router.
- Restart your router and printer.
- Use the Wireless Setup Wizard again.
2. Printer Shows “Offline”
- Make sure it’s powered on.
- Reconnect cables or Wi-Fi.
- On Windows, right-click your printer > “Use Printer Online.”
3. Paper Jam
- Turn off the printer.
- Gently pull out jammed paper from the tray or toner area.
- Avoid tearing the sheet.
- Restart the printer.
4. Poor Print Quality
- Remove and reinstall the toner cartridge.
- Clean inside the printer.
- Use genuine HP toner for the best results.
Updating Drivers and Firmware
Printers, like phones, need updates for better performance.
- Open the HP Smart app.
- Go to Printer Settings > Advanced Settings > Firmware Update.
- If updates are available, install them immediately.
Updated firmware improves security, fixes bugs, and enhances printing speed.
Maintenance Tips
To keep your printer performing perfectly:
- Print at least once a week.
- Clean the rollers monthly.
- Replace toner when printouts start fading.
- Keep the printer covered when not in use.
- Store paper in a dry, flat space.
These small habits prevent clogging, jamming, and unnecessary repairs.
Why the HP LaserJet Pro 400 Is a Smart Investment
The HP LaserJet Pro 400 is not just about speed; it’s built for reliability. Its laser technology ensures sharp and smudge-free text every time.
Here’s what sets it apart:
- Cost-efficient printing: Laser toner lasts longer than ink.
- Professional results: Ideal for business reports and official documents.
- Network printing: Multiple users can print at once without lag.
- Smart app control: Manage everything from your phone or laptop.
If you need consistent, professional-quality printing, the LaserJet Pro 400 remains one of HP’s most trusted workhorses.
Final Thoughts
The HP LaserJet Pro 400 Printer Setup doesn’t have to be complicated. With the right tools—and a little patience—you can go from unboxing to printing in less than 30 minutes.
From the moment you power it on, this printer is engineered to deliver reliability and efficiency. Whether you’re printing invoices, reports, or creative projects, it provides the perfect blend of performance and professionalism.
Setting it up properly ensures smooth operations, fewer errors, and longer printer life. So take the time to follow the steps carefully—it’s a one-time effort that pays off for years.
Once your setup is done, sit back, load your first document, and enjoy that crisp, clean page sliding out—proof that technology, when done right, really can make life easier.